The most comprehensive custom enamel magnets process analysis in 2025
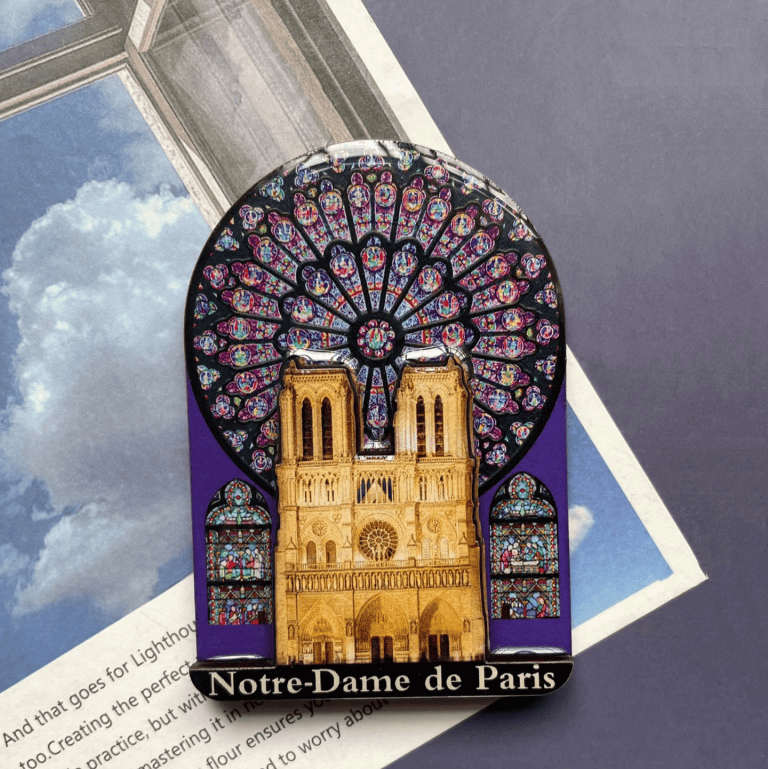
There are many processes for custom enamel magnets, from simple DIY to complex mass production, materials, colors, etc. Today we analyze the production process from multiple angles.
First of all, the core structure of refrigerator magnets has two parts. First, the decorative surface: the part with visual and tactile effects such as patterns, shapes, and texts; second, the magnetic part, which is usually a magnet embedded, pasted or built-in on the back of the decorative surface (rubber magnets, neodymium iron boron magnets, etc.
soft magnetic
Soft magnetic tiles (the simplest, low-cost, suitable for DIY and small batch production)
The core material is a soft magnetic sheet with built-in adhesive (rubber magnet). The front side is usually white or in other single colors, making it convenient for printing or sticking.
Production method:
1. Design: Design the pattern
2. Printing/Production of decorative surface
Direct printing: Use an inkjet printer or laser printer to directly print the pattern on the front (coated side) of the soft magnetic sheet. This is the most common DIY and small-batch method.
UV flat printing: Print the pattern directly on a thicker soft magnetic sheet or other materials (such as acrylic board), resulting in a more durable and vivid color effect.
Sticking printed items: Attach pre-printed paper, photos, fabrics, etc. to the smooth side of the soft magnetic sheet.
3. Cutting: Use scissors, utility knife, paper cutter, laser cutting machine or CNC cutting machine to cut the printed/stuck magnetic sheets into the desired shapes (square, round, irregular shapes).
4. (Optional) Coating/Polishing: To protect the printed pattern, apply a transparent glossy film (shiny or matte) or apply a layer of UV varnish on the surface.
Advantages: Simple and quick production, lowest cost, readily available materials, suitable for DIY, personalized customization, event giveaways, and small-batch production. Light weight.
Disadvantages: Relatively lower texture, thinner edges may cause cuts (needs handling), average durability (especially without coating), limited shapes to flat or simple layering.
Magnetic force: Use rubber magnetic sheets, with moderate weak magnetic force, suitable for lightweight items.
Epoxy resin process
Process Description: Materials: AB epoxy resin glue (A resin + B resin curing agent), color pigment paste/flash powder additives, silicone molds, magnets, decorations (dry flowers, photos, sequins, small toys, etc.).
Production Method:
1. Prepare the mold: Select a silicone mold of the desired shape (round, square, cartoon style, etc.).
2. Place the decorations/magnets: Put the decorations you want to seal in the bottom of the mold. Key step: Fix small magnets with a little glue at the center of the bottom of the mold (with the magnetic surface facing outward, which will be the side that contacts the refrigerator in the future).
3. Mix the drop glue: Mix A resin and B resin in the required proportion precisely, and stir thoroughly until transparent and without stringy substances.
4. (Optional) Color adjustment/adding materials: Add color pigment, flash powder, etc.
5. Pour/drop slowly: Pour the drop glue into the mold, covering the decorations and magnets. Pay attention to eliminating air bubbles (you can use a toothpick to puncture or use a heat gun/heat blower to lightly sweep the surface).
6. Cure: Place it in a dust-free environment and wait for 24-72 hours to fully cure (the time is affected by temperature and the formula).
7. Remove the mold: After curing is complete, carefully remove the finished product from the silicone mold.
8. Polish/finish: If there are burrs on the edges or if a brighter finish is needed, perform fine grinding and polishing.
Advantages: The product has a crystal-clear appearance and strong three-dimensional effect. It can encapsulate various interesting small items, offering high DIY enjoyment, and has diverse shapes (depending on the mold). The surface is highly durable, wear-resistant, and waterproof. The finished product has a “amber” feel.
Disadvantages: The production process takes a long time (requiring curing time), and the operation requires skills (proportions, defoaming). The material cost is high. The curing process may have an odor. The finished product has a certain weight (especially for large sizes), and improper demolding or bubbles can affect the appearance. The position of the magnet needs to be precise.
Magnetic force: It depends on the size and strength of the embedded magnet (commonly small round pieces of neodymium iron boron), and the magnetic force is usually sufficient.
metal enamel magnets
Process Description: This type usually requires specialized equipment or factory production.
A Metal Etching/Cutting
Materials: Thin metal sheets (iron, copper, stainless steel, zinc alloy, etc.).
Production Method:
1. Designing the Template: Create a photopattern film for the etching or cutting process.
2. Etching: Apply a photosensitive resist coating on the metal surface, expose and develop to reveal the parts to be etched, then use chemical solutions to corrode away this part, creating a raised and recessed pattern. Or use a laser etching machine to directly burn through the surface.
3. Cutting: Use a laser cutting machine, wire cutting machine, or stamping mold to cut the metal into the outer contour.
4. (Optional) Coloring/Electroplating: Fill the etched recessed parts with color (such as paint, enamel), or electroplate the entire surface (gold, silver, bronze, etc.).
5. Adhesive Magnet Placement: Attach a strong magnet sheet (usually with adhesive or spot welding) to the back.
Metal Casting:
Materials: Zinc alloys, aluminum alloys, and other low-melting-point metals.
Production methods:
1. Mold Making: Create high-precision steel molds.
2. Casting: Inject molten metal into the mold under high pressure and quickly cool it to form the shape.
3. Deburring: Remove the risers and burrs from the castings.
4. Surface Treatment: Polish, electroplate (gold, silver, chromium, bronze, etc.), spray color, age, etc.
5. Embedding/Attaching Magnets: Usually, magnet slots are reserved in the mold design. After casting or post-processing, strong magnets (such as neodymium iron boron) are embedded and fixed with glue or simply clamped on the back. It can also be pasted on the back.
Advantages: High-quality texture, durable and resistant to deformation and fading, capable of creating intricate patterns and three-dimensional shapes (molding), suitable for mass production. The metal luster and weight are its features.
Disadvantages: High mold-making cost (especially for molding and complex etching plates), extremely high cost for small batches; specialized production equipment required; products are relatively heavy; edges may be sharp and need to be handled; magnets need to be firmly fixed (embedded or welded is better).
Magnetic force: Usually uses powerful neodymium iron boron magnets, with extremely strong magnetic force.
